WP-UV-TV2 How to move your printer using a dolly cart
Transporting the WP-UV-T2 requires careful handling to prevent damage to its sensitive components, particularly the motorized belt wheels. Pulling or pushing the printer directly can result in costly damage. Therefore, it is essential to use the included 3-wheel dolly caster or, as an alternative, a dolly cart for transportation. This guide provides clear, step-by-step instructions to help you safely and efficiently move your printer, ensuring it remains in optimal working condition.
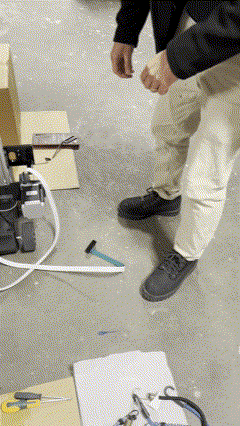
Allan key tool set,3x 35 inches bungee cords, Phillips screwdriver, and a dolly for transportation

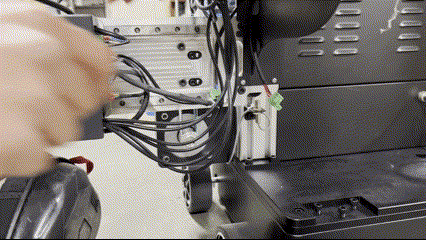
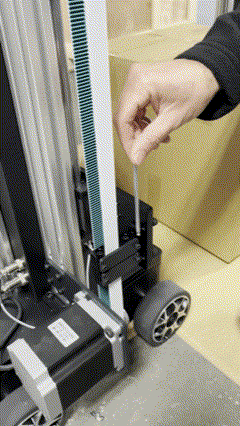
4-Using a Phillips screwdriver, unscrew the two screws that hold the bottom of the tank chain plate.
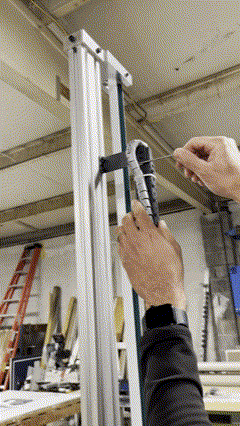
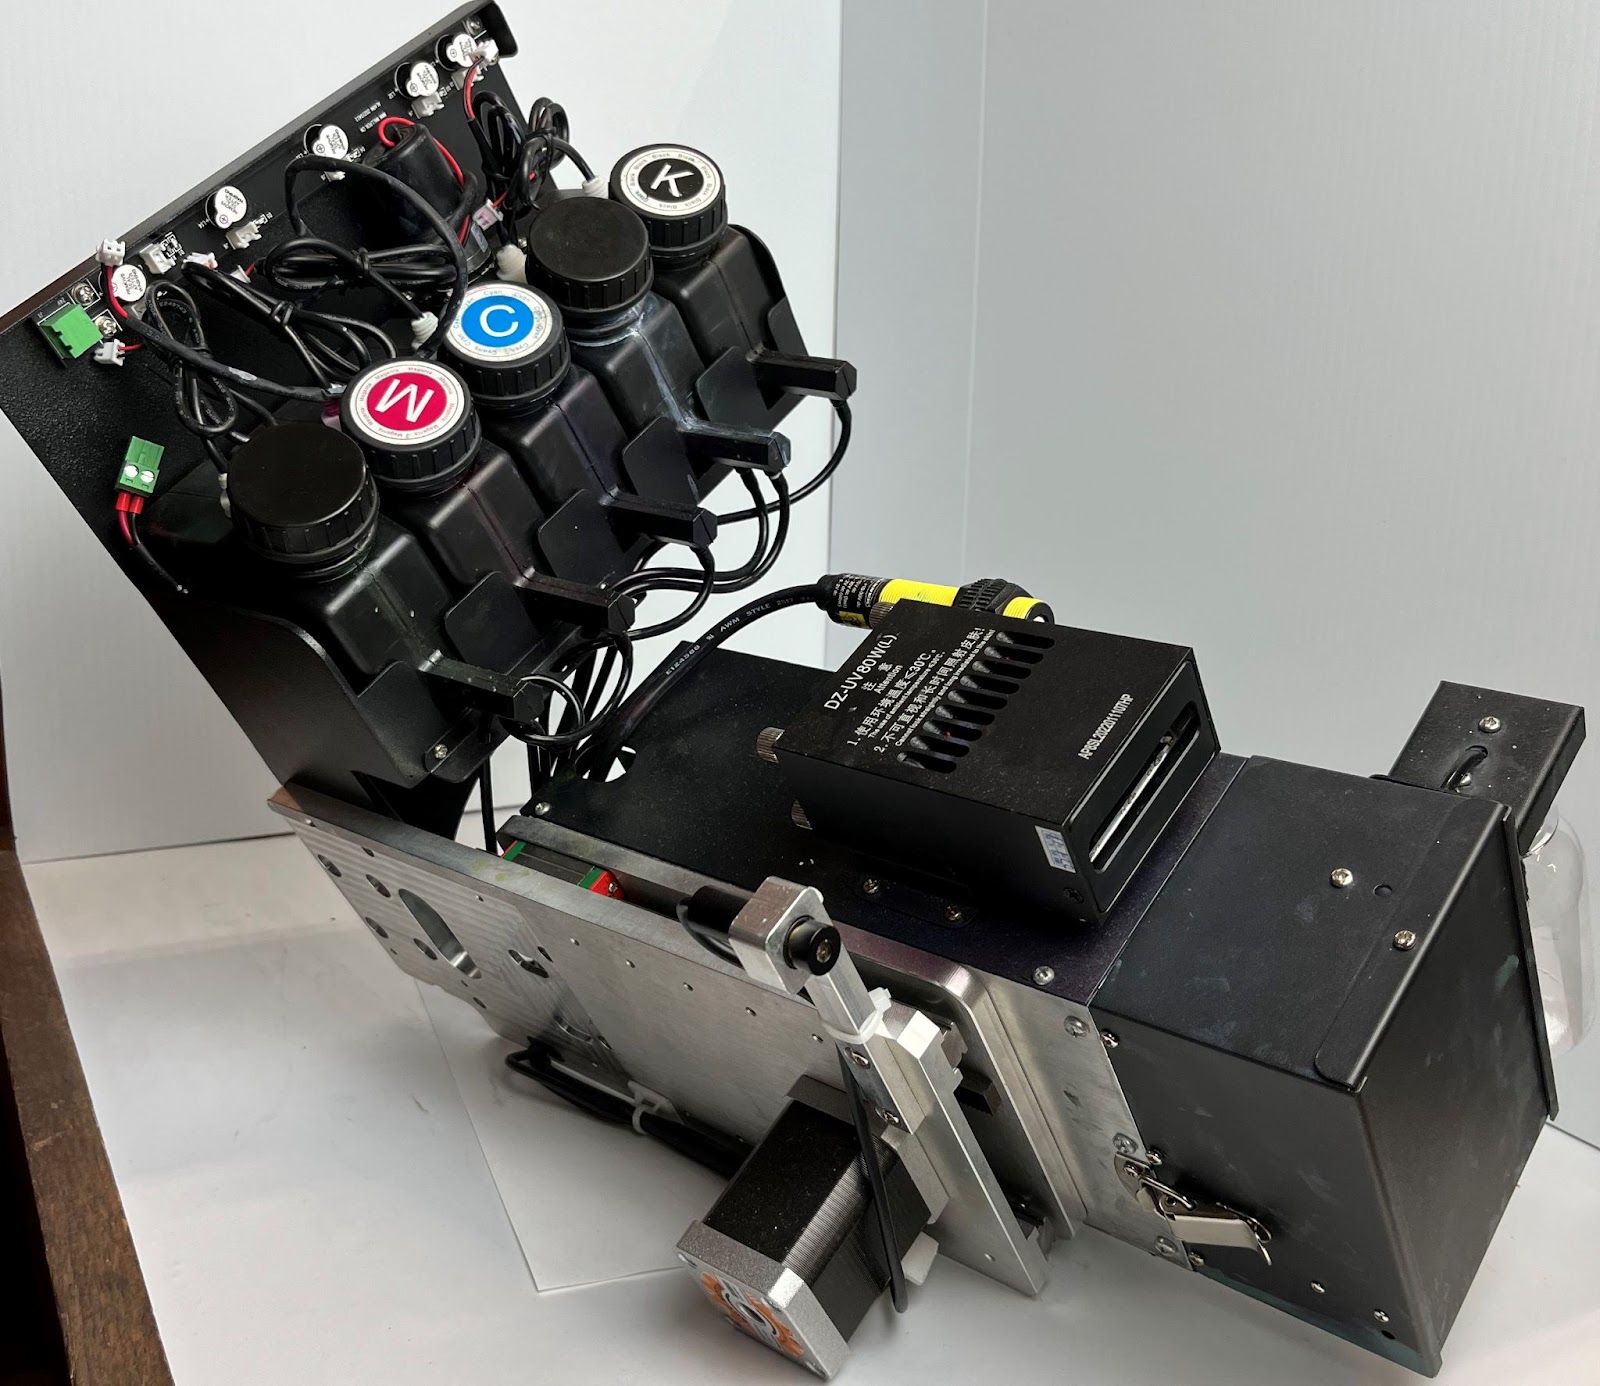
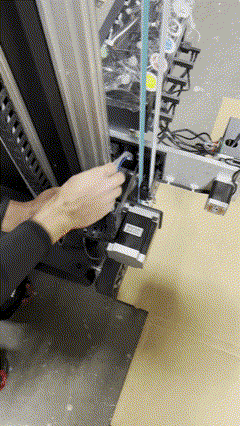
Note: You can either use your knee to support the printhead assembly or ask a second person for assistance to prevent it from falling.
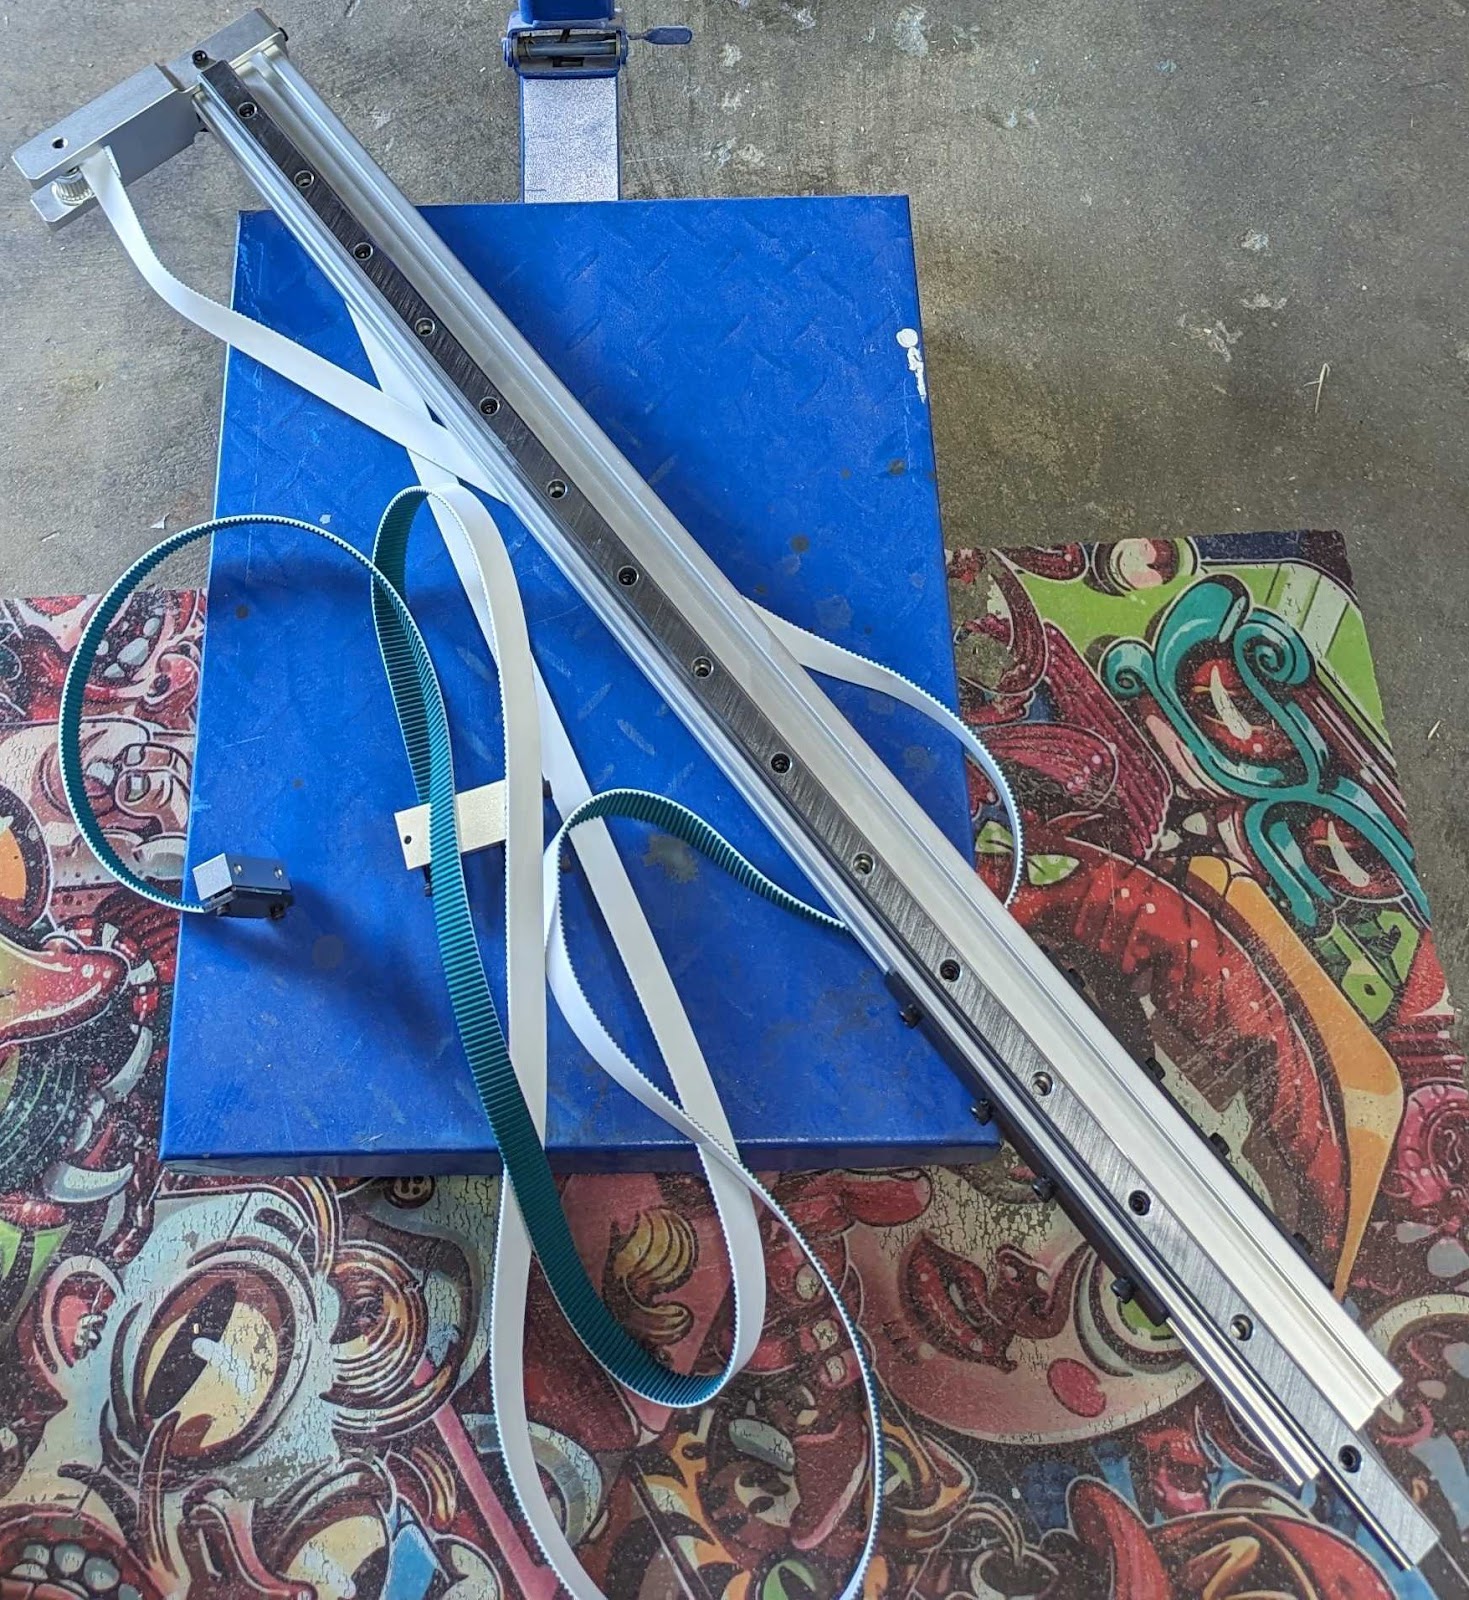
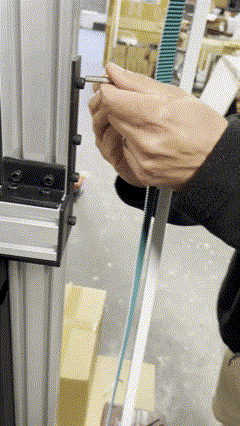
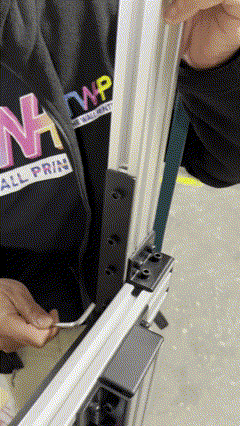
10-Using your 4mm Allan key remove the two bolts that hold the top of the belt tensioner
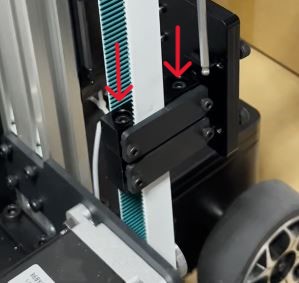
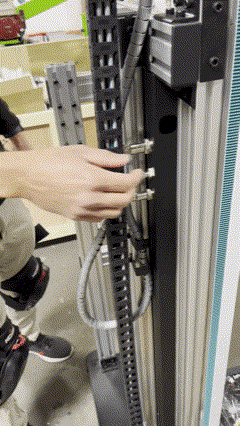
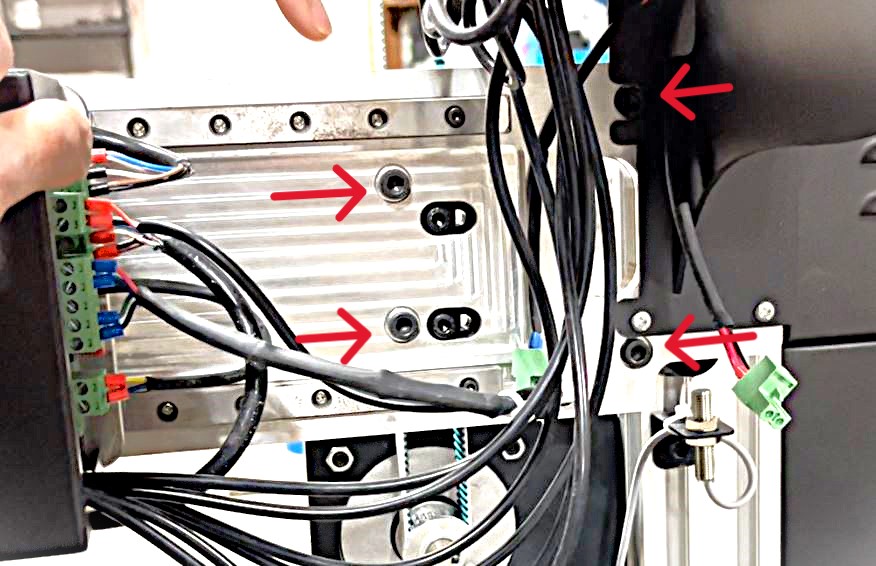
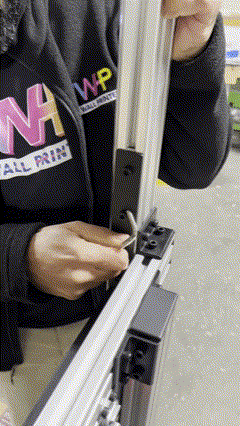
11- Using your 5mm Allen key, loosen the four bolts that hold the black plate on the right side of the Y-Axis Vertical Rail (closer to the belt).
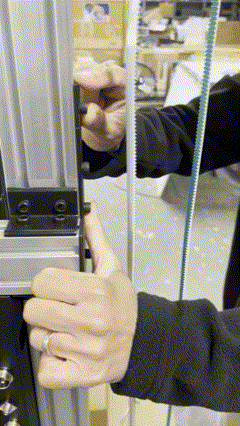
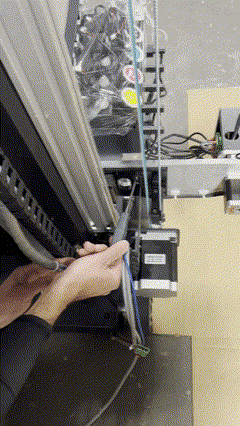
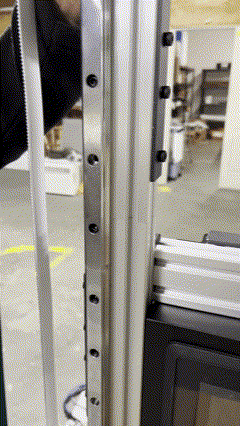
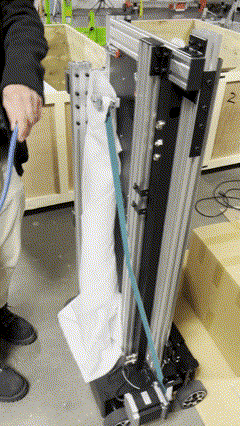
14-Slide the plate upward past the seam, then securely tighten the four bolts using a 5mm Allen key.
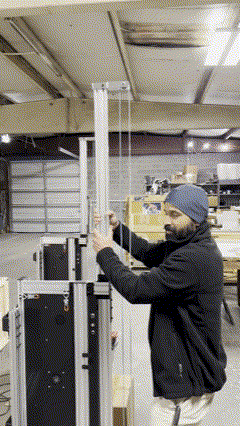
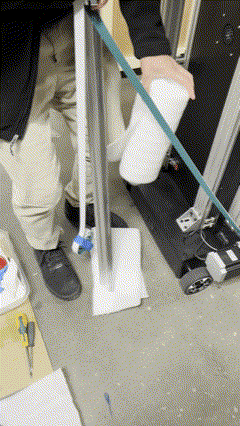
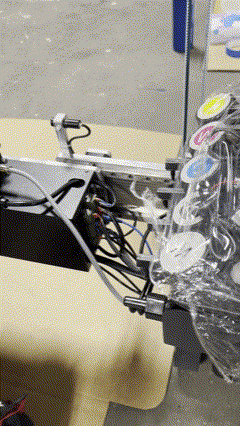
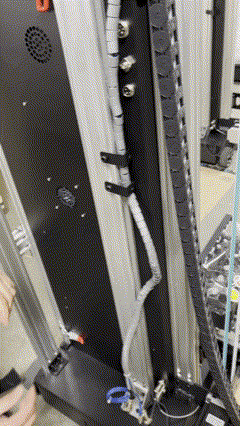
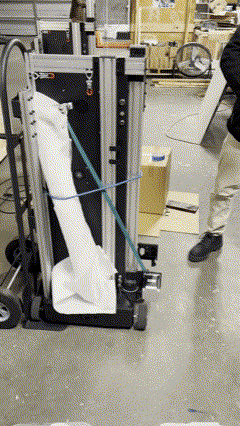
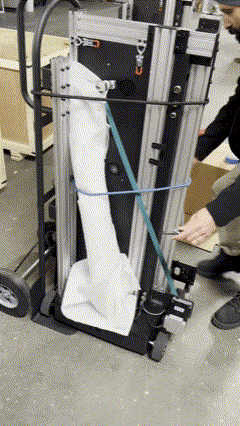
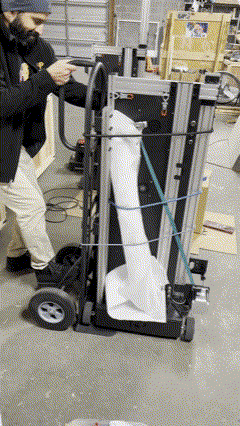
19- Secure the Y-Axis vertical rail by fastening bungee cords around the center of the cabinet.
Note: If you need to lay the machine down to fit it into a vehicle, use soft materials, such as a moving blanket, to prevent any damage to its body. Always lay the machine down with the screen facing upward.
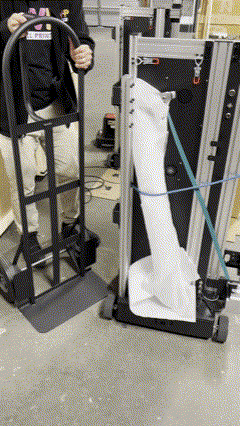
“Using this method to move your wall printer to the desired location will prevent damage to the belt motorized wheels, the top Y-Axis rail system, and the print head assembly.”
Related Articles
WP-UV-T How to Adjust The Wall Distance
Before adjusting the Wall Distance, be sure you have correctly placed your Wall Printer. When the printhead is in its fully retracted position (Z Backward), it should be 3 inches from the wall. The Wall Printer's Wall Distance setting is used to ...WP-UV-TV2 How to Adjust The Wall Distance
Before adjusting the Wall Distance, be sure you have correctly placed your Wall Printer. When the printhead is in its fully retracted position (Z Backward), it should be 3 inches from the wall. The Wall Printer's Wall Distance setting is used to ...WP-UV-T TWP Basic Operations
1-Power on your computer and printhead assembly Note: Power on the print head assembly first before opening TWP; otherwise, the software will not detect the hardware. 2- Double-tap on TWP Control Center. Look for one of these icons on your desktop ...WP-UV-T How To Remove The Printhead Assembly T-Series
How To Remove The Printhead Assembly T-SeriesWP-UV-T How to Print Using the TWP Software
1. Turn on your computer and printhead assembly 2. Open TWP Operation Software -Look for one of these icons on your desktop area 3. Ensure your image is converted to a `.prn` file using the Main Top software. You can choose between printing with a ...