WP-UV-T TWP Basic Operations
1-Power on your computer and printhead assembly
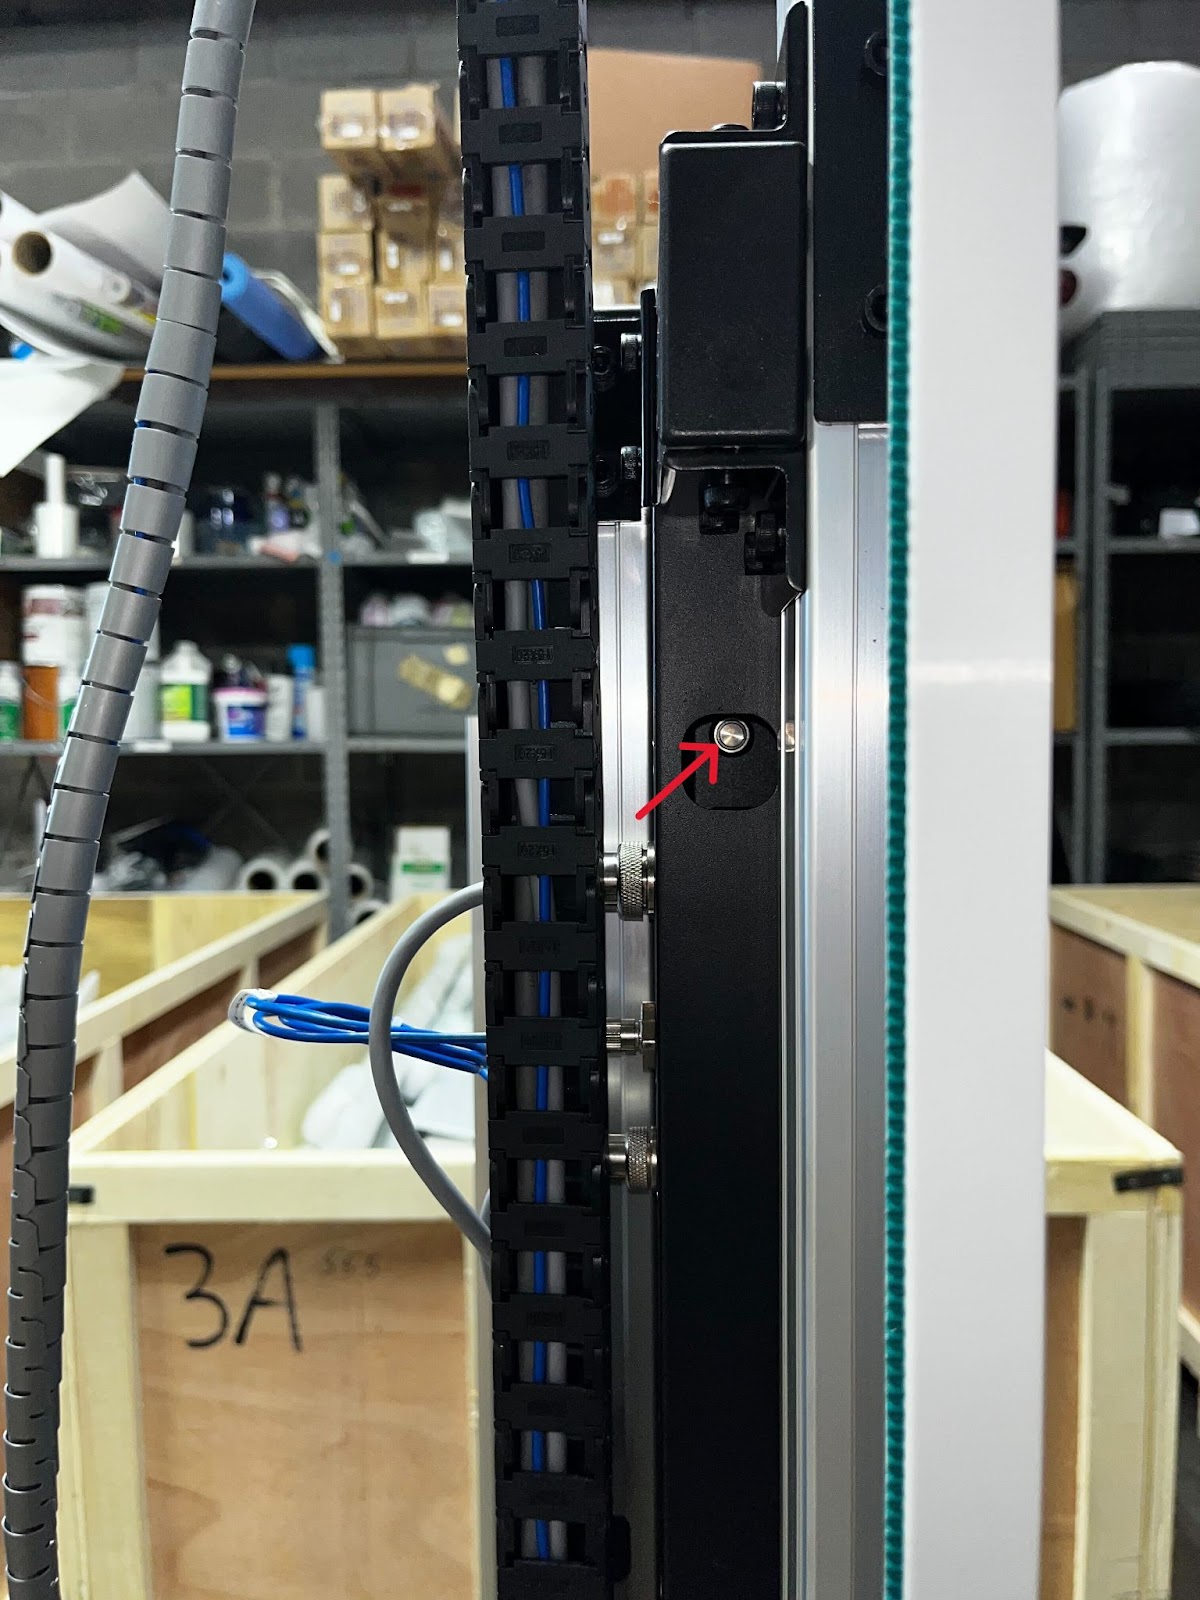
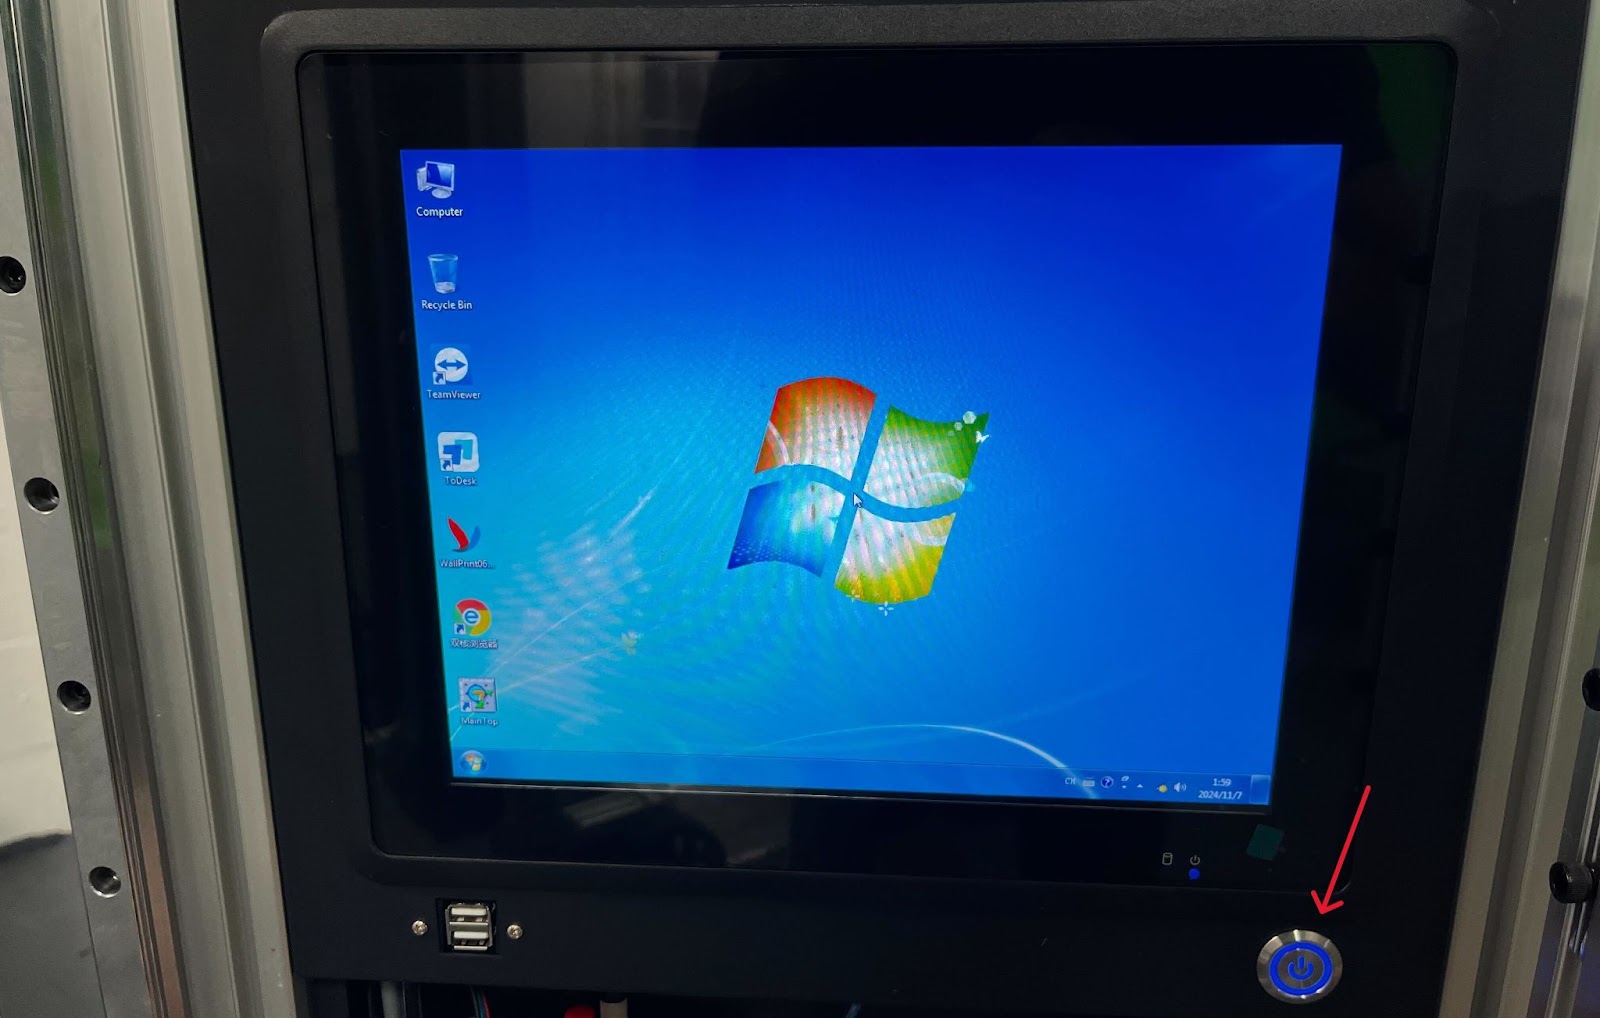
Note: Power on the print head assembly first before opening TWP; otherwise, the software will not detect the hardware.
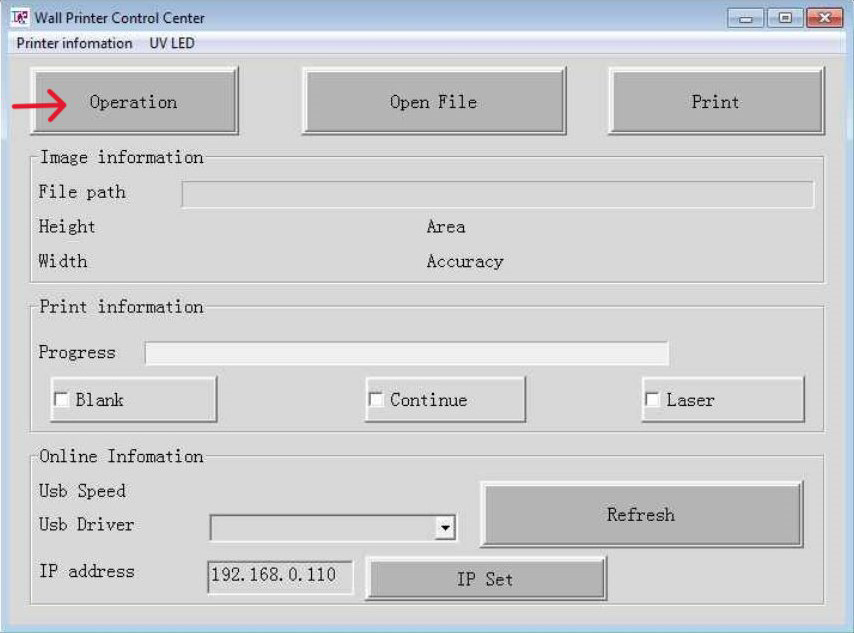
2- Double-tap on TWP Control Center. Look for one of these icons on your desktop area or task
bar.
Note: Ensure the print head assembly is powered on before opening TWP or the software will not detect the hardware.
3- Tap on operations.
4-In operations you have access to the following functions:

1-Pump: With the pump box attached, it pumps ink into the Pumpbox bottle. Double-tap
the pump button to pump infinitely; tap once to stop.
2-Spray: Without the pump box attached, it sprays 6 colors (white, black, cyan, magenta,
and yellow) for 2 seconds.
3-Clean: With the pump box attached, it removes any ink left between the print head and
the pump box.
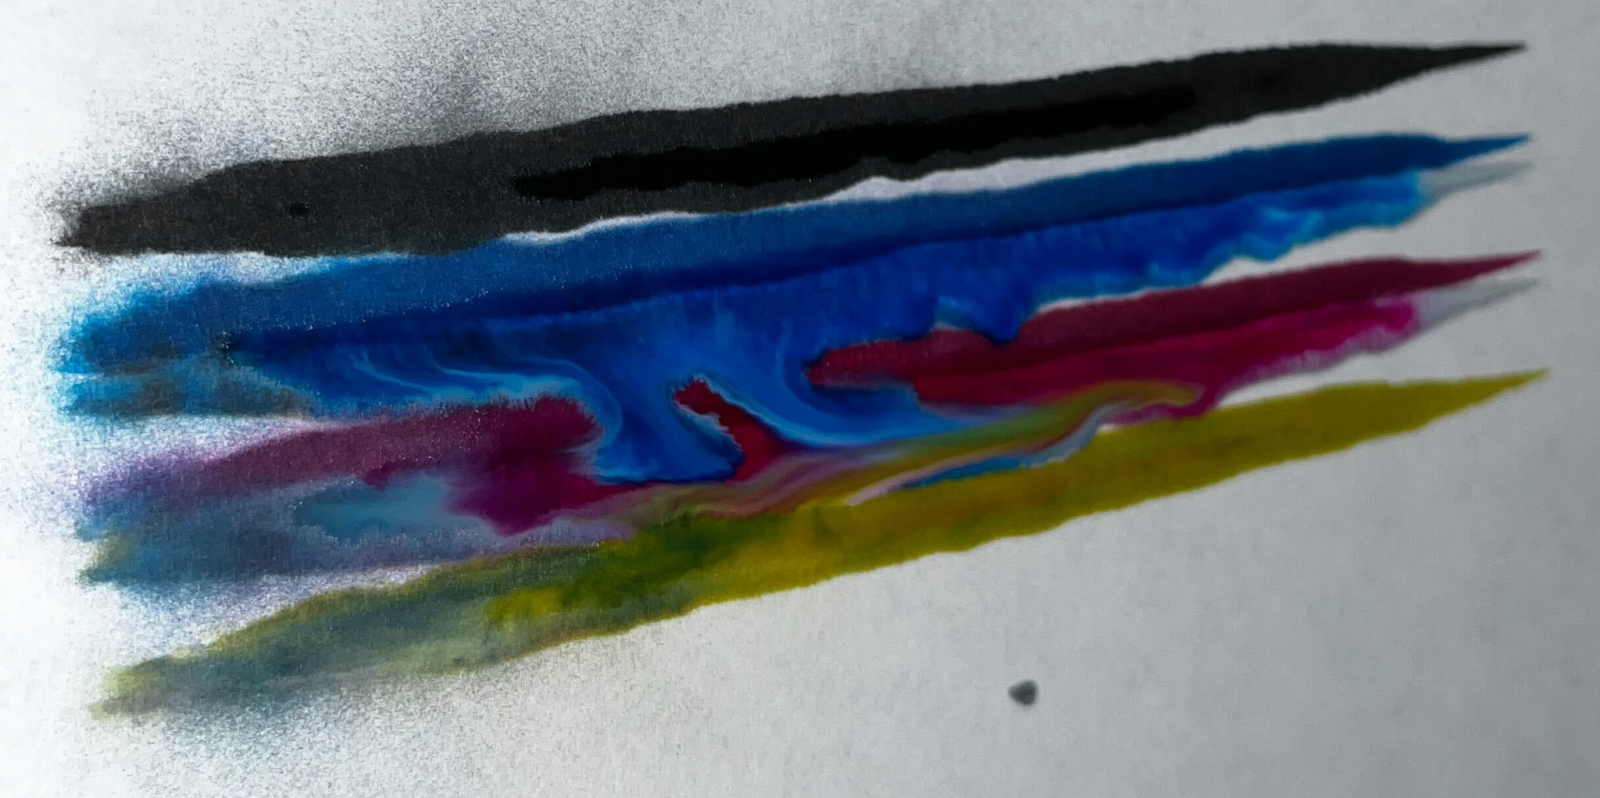
4-Test: Without the pump box attached, it prints 6 color blocks (white, black, cyan,
magenta, and yellow)
5-X, Y:Precision: Moves the printer slowly in all directions (upward, downward, left, and right). Note: To switch to normal movement speed, tap the X, Y: Precision button; X, Y: Standard will display instead.
6-Z Manual: In Manual mode, the print head assembly’s Z-axis position is maintained and can be moved Forward or Backward.
Note: To switch to Z Auto, tap Z Manual; the print head assembly will move towards the wall keeping the wall distance that was saved previously in Printer Information.
7-Z Forward: Moves the print head assembly forward
8-Z Backward: Moves the Print head assembly backward
9-X Left: Moves the print head assembly to the left. Double-tap the X Left button to move left continuously; tap again to stop.
10-X Right: Moves the print head assembly to the right. Double-tap the X Right button to move right continuously; tap again to stop.
11-Y Upward: The printer moves up using its motorized belt. Double-tap Y Upward to Move up continuously; tap again to stop.
12-Y Downward: The printer moves down using its motorized belt. Double-tap Y
Downward to move down continuously; tap again to stop.
13-OK: Closes Printer operations window
14-Cancel: Closes Printer operations window
Related Articles
WP-UV-T How to Print Using the TWP Software
1. Turn on your computer and printhead assembly 2. Open TWP Operation Software -Look for one of these icons on your desktop area 3. Ensure your image is converted to a `.prn` file using the Main Top software. You can choose between printing with a ...WP-UV-T How to Adjust The Wall Distance
Before adjusting the Wall Distance, be sure you have correctly placed your Wall Printer. When the printhead is in its fully retracted position (Z Backward), it should be 3 inches from the wall. The Wall Printer's Wall Distance setting is used to ...WP-UV-T How To Remove The Printhead Assembly T-Series
How To Remove The Printhead Assembly T-SeriesWP-UV-TV2 How to Adjust The Wall Distance
Before adjusting the Wall Distance, be sure you have correctly placed your Wall Printer. When the printhead is in its fully retracted position (Z Backward), it should be 3 inches from the wall. The Wall Printer's Wall Distance setting is used to ...WP-UV-TV2 How to move your printer using a dolly cart
Transporting the WP-UV-T2 requires careful handling to prevent damage to its sensitive components, particularly the motorized belt wheels. Pulling or pushing the printer directly can result in costly damage. Therefore, it is essential to use the ...